
Building a Trammel of Archimedes with Lego Technic
The Trammel of Archimedes, also known as an ellipsograph, is a fascinating mechanical device used to draw ellipses. With Lego Technic, we can create a functional model of this device to explore its principles and mechanics.
What is the Trammel of Archimedes?
The Trammel of Archimedes is a mechanism that converts rotational motion into linear motion along two perpendicular axes. It consists of two arms attached to sliders that move along perpendicular tracks. As the mechanism moves, the end of the arms traces out an ellipse.
How the Trammel Works
The device consists of:
- Two Perpendicular Tracks: Sliders move along these tracks.
- Two Arms: Connected at one end and attached to the sliders at the other end.
- Tracing Point: The end of the arms that moves to draw the ellipse.
When one arm moves, it forces the other arm to move perpendicularly, resulting in the tracing point following an elliptical path.
Building the Trammel with Lego Technic
Using Lego Technic, you can create a working model of the Trammel of Archimedes. Here’s how:
Components Needed
- Technic beams and connectors
- Technic axles and bushings
- Technic sliders (or modified beams with axle holes)
- Baseplate or Technic frame
Steps to Build
-
Create the Base:
- Build a rectangular base using Technic beams or a baseplate.
- Attach two perpendicular tracks using long Technic beams. Ensure they are securely fixed and perpendicular to each other.
-
Build the Sliders:
- Construct two sliders that can move smoothly along the tracks. Use Technic connectors and axles to allow the sliders to slide along the beams.
-
Attach the Arms:
- Connect two long Technic beams to form the arms. Join them at one end using a Technic connector.
- Attach the other ends of the arms to the sliders. Ensure the arms can pivot and move freely.
-
Add the Tracing Point:
- Fix a Technic connector or a small beam to the joined end of the arms to act as the tracing point.
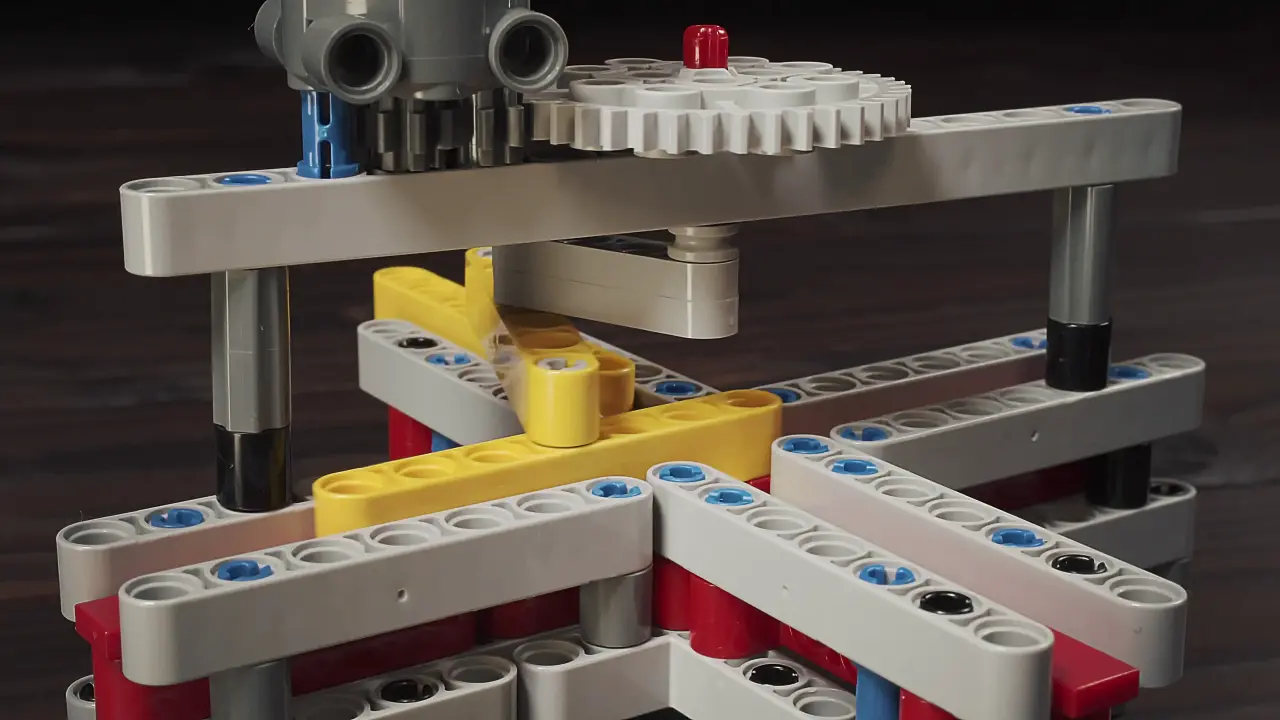
Example Build
Step-by-Step Instructions:
-
Base Construction:
- Use four long Technic beams to form a square or rectangular frame.
- Place two perpendicular beams inside the frame to act as the tracks.
-
Slider Assembly:
- Create two slider units using short Technic beams and connectors.
- Attach Technic axles and bushings to ensure they slide smoothly along the tracks.
-
Arms and Pivot:
- Connect two long Technic beams to form the arms.
- Use a Technic connector to join them at one end, allowing them to pivot.
-
Final Assembly:
- Attach the free ends of the arms to the sliders.
- Fix a Technic connector at the pivot point to serve as the tracing point.
-
Test and Adjust:
- Move the sliders along the tracks and observe the tracing point following an elliptical path.
- Make adjustments to ensure smooth movement and accurate tracing.
Understanding the Mechanics
By building and operating the Trammel of Archimedes with Lego Technic, you can observe the conversion of rotational motion into linear motion and how it creates an elliptical path. This hands-on experience helps in understanding the geometric and mechanical principles behind the device.
Conclusion
The Trammel of Archimedes is an intriguing mechanism that demonstrates the principles of motion conversion and ellipse drawing. Using Lego Technic to build this device provides a fun and educational way to explore these concepts. Whether for a school project, a mechanical exploration, or simply for fun, constructing a Trammel of Archimedes with Lego Technic is a rewarding experience.
References
- “The Art of LEGO Design” by Jordan Schwartz
- “Practical LEGO Technics: Bring Your LEGO Creations to Life” by Mark Rollins
- “LEGO Technic Robotics” by Mark Rollins